
Remote Desktop for BlackBerry® PlayBook™ Help
This is a quick guide to helping you get up and running with Remote Desktop for BlackBerry® PlayBook™.
First ensure that your computer is configured to allow Remote Desktop Connections. To do so for Windows 7 please follow the steps below:
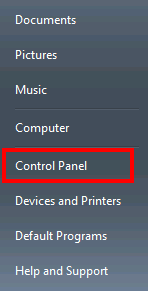
1. Open Control Panel from the Start menu.
2. System and Security
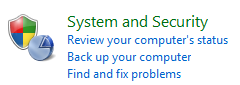
3. Under System on the right hand side of the window select Allow Remote Access

4. Ensure that Allow connections from computers running and version of Remote Desktop (less secure)
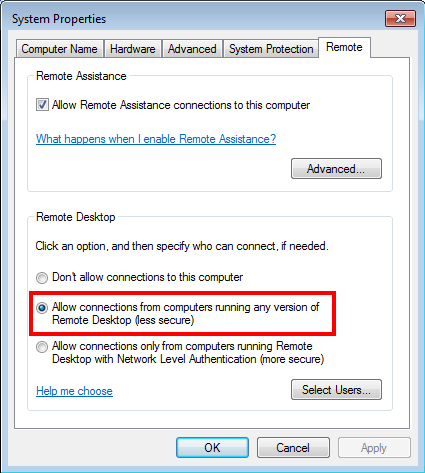
5. You may need to click Select Users and add your user account (ie you login name) to that list to allow your account access to the machine via the RDP protocol.
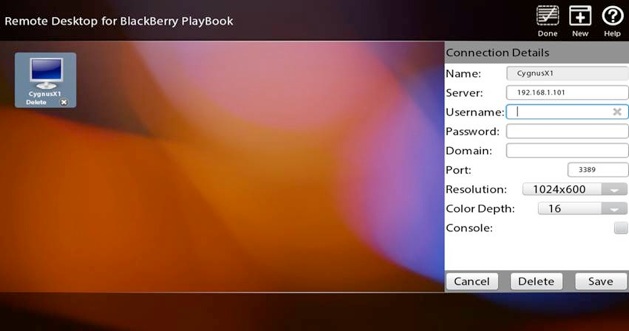
Once your computer is configured fill in the fields in a New Connection with the following information:
Name: This can be anything so long as it does not contain a single quote ' This field identifies a unique connection in the application.
Server: the ip address of the computer you are connecting to (ie in a cmd box type ipconfig and look for the IPv4 addess)
Username: the username you use to log into the computer
Password: the password you use to log into the computer.
Domain: your computers name (this is in the general setting in the System applet in the Control panel on your computer) or if your system is part of a Windows Active Directory Domain the Active Directory Domain name.
Port: This will usually be 3389 which is the default port used by Windows for Remote Desktop Connections.
Console: This will trick windows into thinking that you are logged into the console and as such may enable some functionality for applications that do not work in a Remote Desktop Session.
Note: If you leave the username and password blank you will be prompted for these when you connect and your credentials will be sent directly to the server over an encrypted stream.
To connect to a computer through your router you would need to do one of the following:
1.Set up a VPN back to your home network in the PlayBook settings and connect to that VPN prior to trying to connect to your home machine.
OR
2.Set up a firewall rule on your router to forward port 3389 to your home machine and then in the Server field enter in your public IP address of your router (the WAN IP address). Note: If your ISP gives you a dynamic IP address you can use something like dydns.org to have you dynamic IP address always associated with a fully qualified domain name which you would enter in the Server field instead of the WAN IP.
Note: The configuration of VPNs and firewall rules vary from router to router and so you should refer to your router manual on how to set a port to be forwarded. this also works best if you configure the computer you want to use for Remote Desktop connections to have a static IP on your internal network.
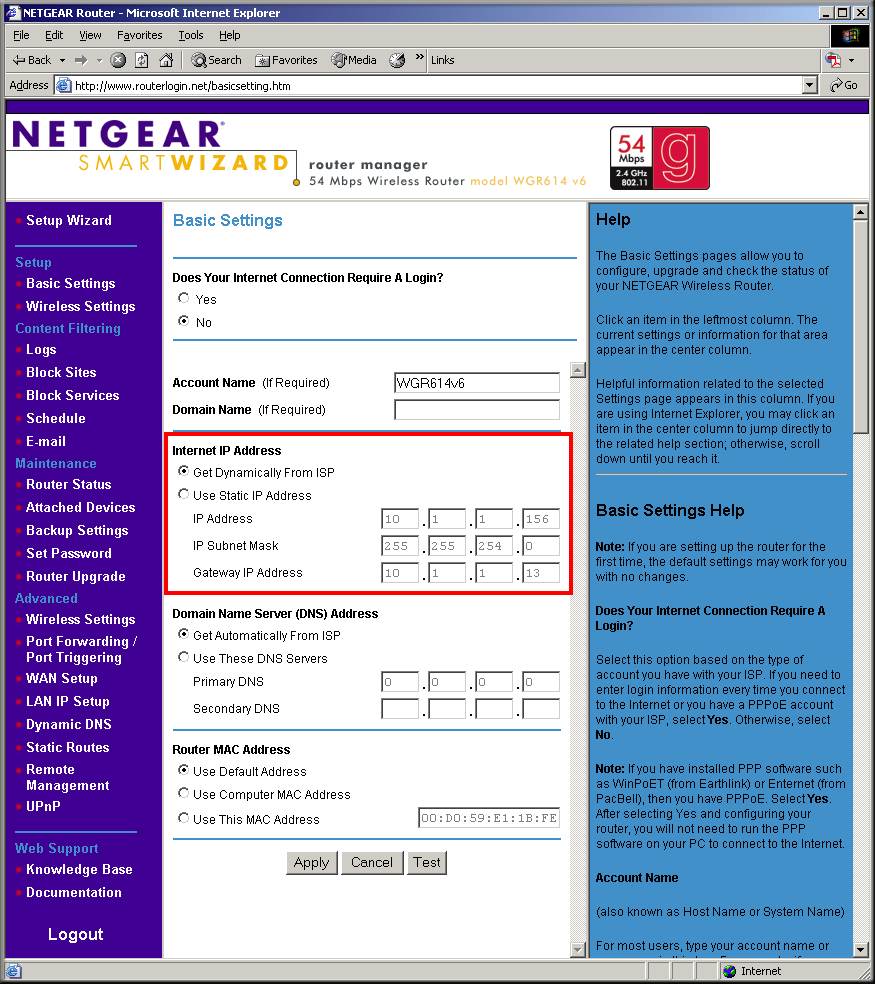
Here are some instructions for setting up a port forward for a Netgear router:
Instructions for port forwarding for Netgear WGR614
First you will need to go to the Port Forwarding/ Port Triggering section of your Router configuration (This will be under the Advanced heading in the Main Menu)
Once there click the Add Custom Service button.
In the Custom Service Enter the following information: Service Name: RDP Service Type: set to TCP/UDP Starting Port: 3389 Ending Port: 3389 Server IP Address: This will be the IP address of the computer you want to connect to (to get that open a cmd prompt on your computer and type ipconfig, use the IPv4 address) Click Apply. You now have the port forward configured.
Now, on your PlayBook enter in the WAN IP (Internet address in the server field) See below:
Optional Settings
You should probably configure your computer so that it always has the same IP address. To do this you would enter in the IP address you entered in above when you create a custom service, the MAC address for your device (this can be obtained in a cmd prompt by typing "ipconfig /all" without the quotes and using the physical address see below) and then naming the device like mydesktop and clicking add.
The MAC address is highlighted in red.
![]()
As well it is common for ISPs to provide dynamic IP addresses that change often. To work around this there are a number of services that will prove a domain name for your changing IP address that is always up to date. The most common is dyndns.org. To use this service first sign up (it is free though they do have other services that are paid but all you need is the dynamic dns service). Once you have signed up you will enter the hostname they provided you or you picked in the Hostname field, your dyndns.org username and password will go in the username and password fields and then just check the Use a Dynamic DNS service and click apply.
Now on the PlayBook you will enter the hostname you got from dyndns.org in the Server field and you will be able to connect to your desktop from anywhere so long as your desktop is turned on and you have an active internet connection.